

Tuesday, 1 June 2010
My Design! Ryvita Mailer
To carry out this design for Soup I used a variety of different PSD's and the Ryvita website to create a new and exciting mailer design. The emphasis with this design was to really push the product and so I zoomed right in on the product shots.


Friday, 28 May 2010
Flash Tutorial! Creating Star Wars opening credits text in Flash CS3
1. Open Fireworks and put your chosen text into a text field.
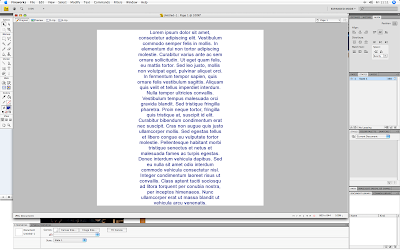
2. Select your text field then select the Skew tool.
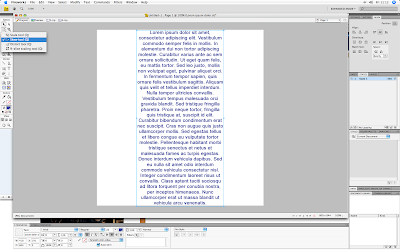
3. Now Skew your text to your desired perspective.
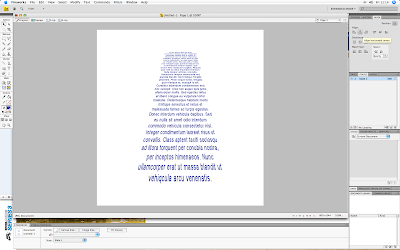
4. Now convert your text to paths by selecting your text then clicking Text on the top toolbar and selecting Convert to Paths.
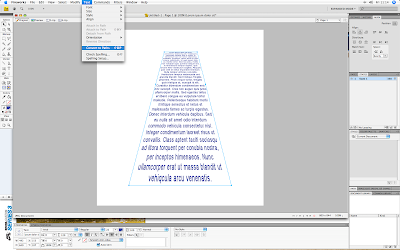
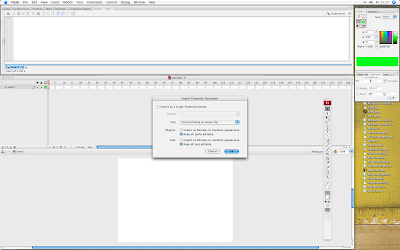
5. Now copy and paste your text into Flash. Flash will ask you for your import settings. Select import :Current frame as movieclip", "keep all paths editable", and "keep all text editable".
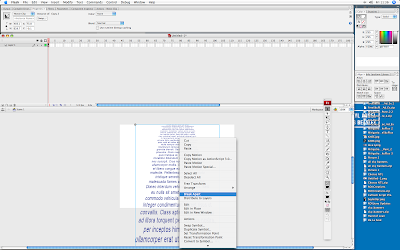
6. Now Control Click on your text and select Break apart.
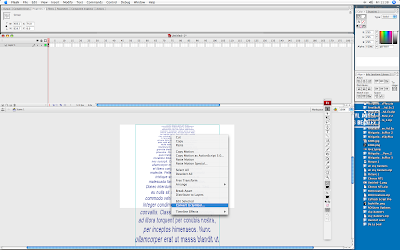
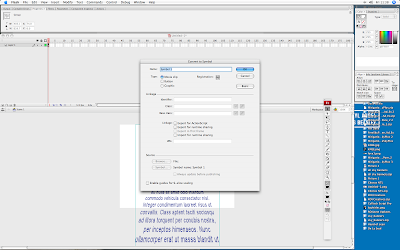
7. Now control click on your text and select Convert to Symbol. Click Okay on the pop up window.
6. In Flash go to frame 100 and control click (right click PC) on it, from the drop down select "Insert Keyframe".
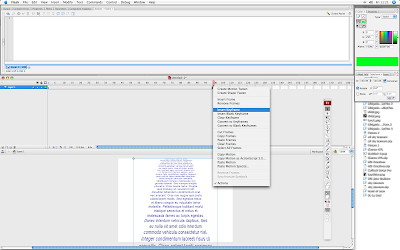
7. Now go back to frame 1 and create a new Layer called "Guides". On this layer use the line tool to draw out guides for your text along the edges of your text field. This is important later to make sure we retain the correct perspective in animation.
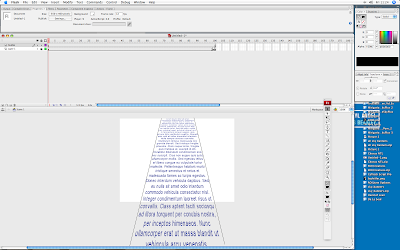
8. Now select Layer 1 on frame 1 and move your text field off the bottom of the stage and press "Q" to resize it to fit to your guides (make sure you hold shift when resizing to retain proportions of text).
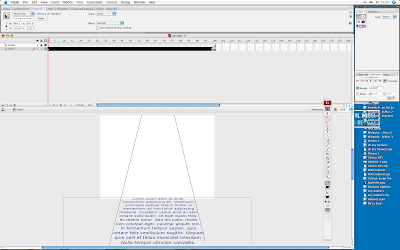
9. Now go to frame 100 and move your text off the top of the screen and resize to fit your guides, again make sure you hold shift when resizing to retain proportions.
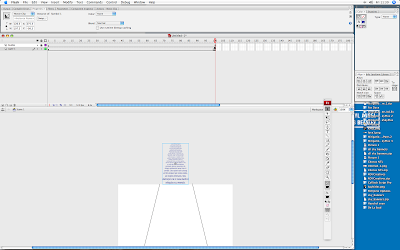
10. Now Control Click on frame 50 on Layer 1 and select Create Motion Tween (CS3), or Classic Tween (CS4).
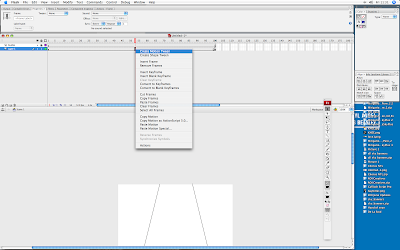
11. Now export your movie to check it over and tweek it according to your style!
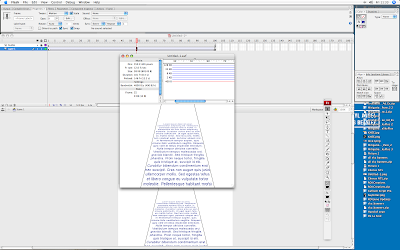
12. Hide or delete your guides layer once your happy with your work.

2. Select your text field then select the Skew tool.

3. Now Skew your text to your desired perspective.

4. Now convert your text to paths by selecting your text then clicking Text on the top toolbar and selecting Convert to Paths.

5. Now copy and paste your text into Flash. Flash will ask you for your import settings. Select import :Current frame as movieclip", "keep all paths editable", and "keep all text editable".

6. Now Control Click on your text and select Break apart.

7. Now control click on your text and select Convert to Symbol. Click Okay on the pop up window.


6. In Flash go to frame 100 and control click (right click PC) on it, from the drop down select "Insert Keyframe".

7. Now go back to frame 1 and create a new Layer called "Guides". On this layer use the line tool to draw out guides for your text along the edges of your text field. This is important later to make sure we retain the correct perspective in animation.

8. Now select Layer 1 on frame 1 and move your text field off the bottom of the stage and press "Q" to resize it to fit to your guides (make sure you hold shift when resizing to retain proportions of text).

9. Now go to frame 100 and move your text off the top of the screen and resize to fit your guides, again make sure you hold shift when resizing to retain proportions.

10. Now Control Click on frame 50 on Layer 1 and select Create Motion Tween (CS3), or Classic Tween (CS4).

11. Now export your movie to check it over and tweek it according to your style!

12. Hide or delete your guides layer once your happy with your work.
Monday, 24 May 2010
Flash CS4 Inspiration! Y Axis 3d Star Wars text
I recently had the task of creating 3d Star Wars text. Luckily through google it was very quick to find a very straight-forward tutorial explaining exactly how to do this. Click the link to view the tutorial.
http://jojopops.wordpress.com/2009/05/28/flash-cs4-star-wars-text-scroll-tutorial/
http://jojopops.wordpress.com/2009/05/28/flash-cs4-star-wars-text-scroll-tutorial/
Thursday, 29 April 2010
Flash Design Inspiration! Erky Perky

This is a really fun and interactive flash site. I love the characters and the animations are fast to load. Awesome work.
http://www.erkyperky.com.au/#
Flash Design Inspiration! Wishbone Design
This charming website is very heartwarming. The character animations really give a boost of personality and individuality. Lovely work. I'd love to work on Flash websites like this.
Wishbone design

Wishbone design

Friday, 23 April 2010
My Flash Work! Banner preview page now online!

I've just published this banner preview site which acts as a quick reference to my best design and animation work for web banners. It's good to have an easily up-datable website where i can add and change banners as and when i do them.
Click here to link to my flash banner animation pages
Tuesday, 13 April 2010
Pictobrowser
Get the flash player here: http://www.adobe.com/flashplayer
Stumbled across Pictobrowser being used on a blog. So used it and its so easy and effective - i love it! It pull in images from a Flicker account. Now to research Lightbox and Thickbox!
Stumbled across Pictobrowser being used on a blog. So used it and its so easy and effective - i love it! It pull in images from a Flicker account. Now to research Lightbox and Thickbox!
Subscribe to:
Posts (Atom)